The supplies for this project have sat on my dining room table for well over a month. I’m so happy to finally finish this sign and I love how it turned out. It’s easy and economical DIY art that can be personalized with any verse or quote. If you have any questions, let me know in the comment section.
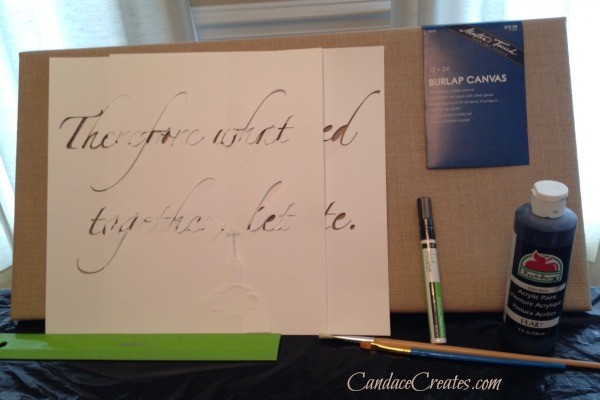
Supplies:
- Burlap Canvas- I used 12X24in.
- Black Acrylic Paint
- Black Paint Marker- medium tip
- Small Paintbrush
- Stencils
- Pearlizing Medium Paint (pictured below)- I found this in my daughter’s craft supplies and it was perfect for adding some texture to the black paint.

I cut out the verse with my Silhouette Cameo Machine {affiliate link} on cardstock paper, but there are a variety of ways to apply the letters to your sign for tracing. I drew the letters on the burlap with the black paint marker. The small pieces of paper in the o’s, e’s, a’s… were actually unnecessary. By tracing along the edge of the letters, they were formed perfectly without needing to use the inside shapes.
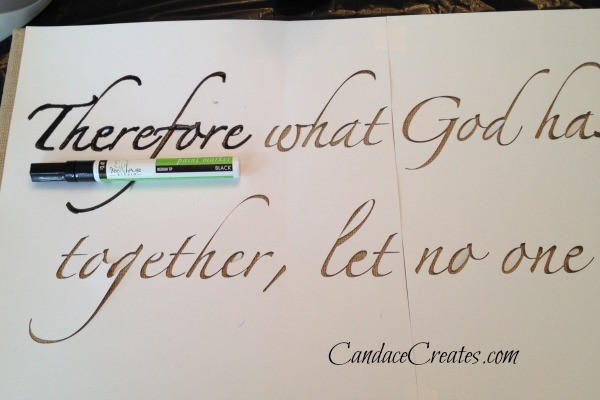
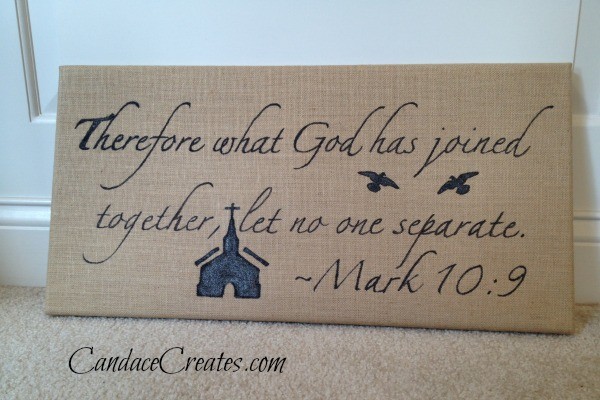
After removing the stencil, I went over the letters again with my marker. Next I traced a church building and doves with the paint marker. These stencils are from a wedding kit in the Silhouette online store. I filled in the church and birds with a 1:1 mix of black paint and the pearlizing medium.
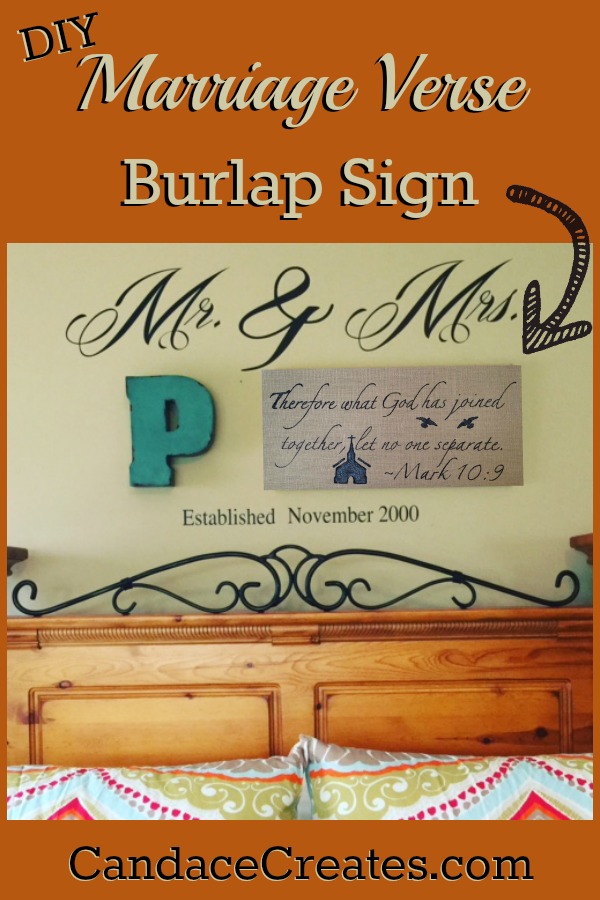
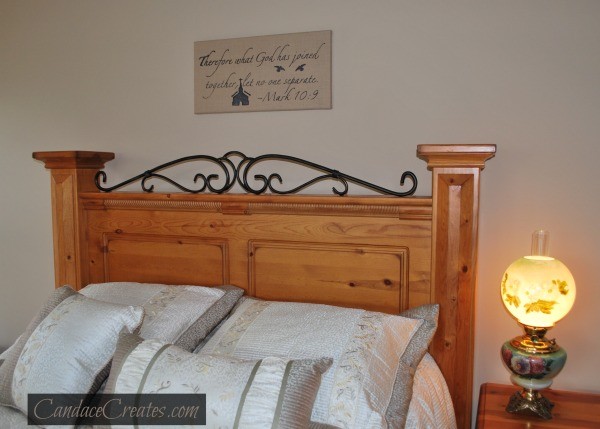
It fit perfectly over my bed…
This can easily be finished in an afternoon. I’m not sure why it stayed on my table taunting me for so long. Let me know if you have any questions!
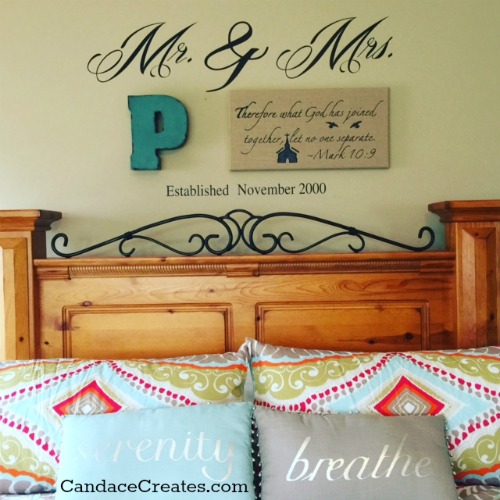
Update: I’m absolutely loving my sign tied into this fun mini gallery wall…
Looking for more fun projects? Follow me on Pinterest!


I love the marriage verse sign you made for your bedroom. It even looks really easy to make. One day I’m going to challenge myself to get crafty. I love seeing all the projects that others make, but I really haven’t tackled any of my own.
It is so easy to make, Sonya! This would be a great starter project for you :). I love looking at other people’s crafts too. It can bring on so much inspiration!
Oh my Candace, this is really cool! I’d save this for the future and maybe share it with my readers too!
Thanks, Gee! I was so stressed about the letters getting messed up. I think that’s why I put it off for so long. I would love for you to share it with your readers. Please feel free if the opportunity arises :)!
Love this! What a great idea. And it doesn’t seem that difficult, which is nice 🙂
It’s not difficult at all, Heather! I love these projects that can be finished fairly quickly. It is always a wonderful surprise when everything goes smoothly :).
In a former life (at least it feels like it) I used to do a lot of crafts. It seems that I have gotten away from it recent years but finishing a project always brought such joy. Thank you for sharing your crafty side today!
Finishing a project is a great accomplishment for me these days, Mary. I have so many unfinished projects laying around my house. It drives my husband crazy :). I was so happy to get this one done!
I love this! I have a nephew getting married in a few weeks and this would be a perfect wedding gift. Thanks for the inspiration.
I think it would be a great wedding gift idea too, Sandy! You could even personalize it with the last name or something like that. Let me know if you have any questions if you make one. I would love to see a picture :).
I LOVE IT!!! You are so talented, my friend. I love all your art projects, but this one and the Inner Beauty Mirror are my favorites. They touched my heart in special ways. Are you planning to offer any of your works for sale at some point? Some of your followers, ME, are VERY challenged in the art department : ) so I was wondering : )
You are so sweet, Gisela! Thank you, my friend. I would love to start selling some stuff. I’ve been looking into an etsy shop. I have to get my life organized first, which could be a while :). The Inner Beauty Mirror will always be my favorite project. It was so meaningful for me. I’m glad you loved it too. This one was much easier than I thought it would be. I bet you could do it :)!
Wow! That’s beautiful! Thanks for sharing it with us.
Thanks Katie! I was a nervous wreck I would mess up the letters, but the stencil worked really well :).
What a great sign…. with a wonderful verse and with an attractive design. Thank you for sharing this.
Thank you for your sweet comment! I love that verse as well :).
I’ve been on a burlap kick lately, and I love the marriage verse you chose. It turned out beautifully!
Thanks, Kim! I’m loving the burlap trend too. I bought this canvas 1/2 off months ago, and just made the sign this week. I think I want to make another for my craft room with a different verse or quote I love.
Candace – I love that you have posted something beautiful – and simple! I would just love to have you visit my house so we could use some of the many crafting supplies I have, but don’t use. 🙂 My daughter has an eye for things like this though so I’ll be showing her this one. Do you have a recommendation for finding or creating stencils inexpensively?
I’m the same way, Jolene! I have so many supplies cluttering up my house. I couldn’t possibly use them all in this lifetime :). I’ve seen some great tutorials on various blogs for creating stencils or transferring letters. One way is to print out your words and use a sharp x-acto knife to cut the letters out. I would use cardstock (scrapbook) paper. It’s a little stronger.
Another option is to transfer the letters, but it doesn’t create a stencil. One way to do this is print out your words, put carbon paper between the print out and your sign (or whatever you are transferring to), and trace over the letters with a pen. Another way is cover the back of your print out with the words on it with chalk. Lay it chalk side down on your sign, and trace the letters with a pen or pencil. Both of these should leave an outline, with chalk or carbon, of the letters for you to use as a guide to paint them. I haven’t tried either of these techniques but I think they would work nicely. You should be able to do this with images as well as words. Try to google the techniques to see pictures. I hope this was not too confusing :).
I love this! I will have to give it a try! The verse is perfect!
I’m pleasantly surprised at how easy this project was. With your craftiness, it will be a breeze for you, Alexis :). I love the verse too. After looking at several, I knew this was definitely the one.
The sign is lovely. I love how the burlap gives it a rustic look!
I understand having supplies for a project sitting around for a month (or more…) before completing a project. I have a few I need to complete!
I’m a little obsessed with burlap right now :). I still have many more projects taunting me around the house. I’m great at starting, but not so great at finishing.
I love the Burlap/Rustic Trends! BEAUTIFUL! Coming over from Kendra’s blog!
Thanks so much for your visit and sweet comment, Jane!
I saw your picture (and beautiful headboard) on Pinterest and showed it to my daughter. She’s getting married in December and is having fun crafting things for her home. She was stenciling a burlap pillow with one of their wedding songs. She loved this idea of yours, too. Love the sentiment on yours. If only every married couple would make that their goal! ~Pamela
Congratulations to your daughter, Pamela! What an exciting time for your family. I love her pillow and wedding song idea! That would be a wonderful gift as well. This burlap sign would match her pillow perfectly :). I hope she gets a chance to make one. Blessings on her upcoming marriage!
I LOVE your creation this week Candace – what a lovely verse and project for your home!
Congratulations – you are one of our Featured Guests at this week’s Inspire Me Monday party at Create With Joy!
Thank you so much!! I always love your party :). No new creations this week, but I’ll definitely be over to check out everyone else’s inspiring projects.
Love this! A beautiful verse… Thanks for sharing.
Have a beautiful day 🙂
Thank you! I love the verse too. I had a few in mind but am so glad that one won out. I hope you had a beautiful day as well :)!