
My creative time has been limited lately. I seem to be working on a project a month instead of weekly. I bought a t-shirt to decorate a while ago after being inspired by an adorable bleached owl shirt on Pinterest.
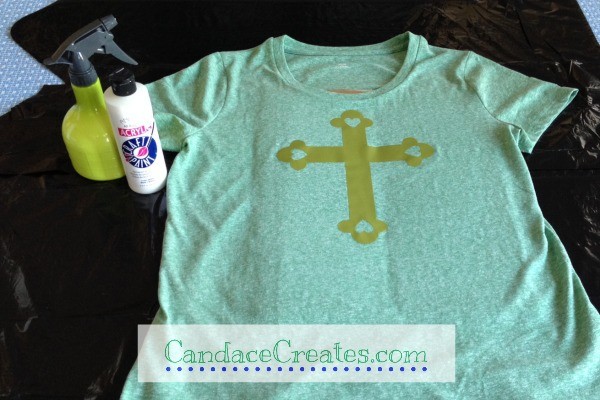
I opted to use paint instead of bleach and a cross for my current obsession with Easter projects {more coming soon}. If you don’t have a Silhouette cutting machine, the bleached t-shirt instructions above from Practically Functional include another option using a stencil and spray adhesive.
Supplies needed:
- T-shirt — I found mine at Target for $5
- Cross cut on vinyl with sticky backing
- Squirt Bottle
- Cardboard to fit inside t-shirt
- Acrylic Permanent Paint, suitable for fabric
Instructions:
Place the cardboard inside the shirt to stop the paint from soaking through to the back.
Apply the vinyl cross to the shirt.
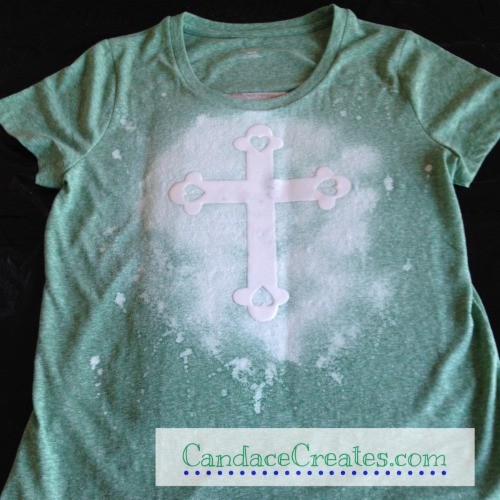
Mix the paint with water in the squirt bottle. I apologize for not supplying the water and paint ratio measurements, but it was really a trial and error method. Use the smallest amount of water possible to keep it from bleeding under the stencil. Mine ran under a little bit, probably from too much water.
Squirt the paint all over the shirt, concentrating on the areas around the stencil. You could try several colors layered, but I chose to just use white.
Allow the paint to dry completely and remove the stencil.
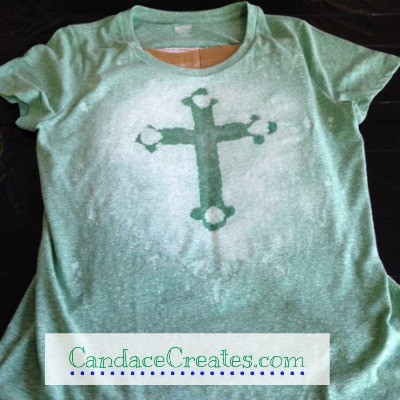
Turn the shirt inside out and wash alone on delicate in cold water to soften. Hang to dry.
Thanks for visiting!

*If this is your first visit, you may be wondering why this cute DIY craft is hanging out on a health blog. I would love for you to click over and meet Candace to learn more about the reason for that transition. I’m so glad you’re here!!


Nice one!!!!looks great 🙂
Thank you, Mari! I wish it would warm up enough to wear it :)!
Ohhh, I like it. And so simple too.Great project!
Thanks, Sandy! It is so easy to do. I would love to do another with more colors. This one I wanted the focus to be on the cross instead of a lot of color.
I’m going to do this with my kids. They love craft projects. I just didn’t understand the part “If you don’t have a Silhouette cutting machine…” But then in the instructions it doesn’t say anything about a Silhouette cutting machine. Please clarify?
I’m so sorry for the confusion, Laura! I cut my cross out on my Silhouette machine. I forgot to put that in the instructions :). You could easily trace something you like onto the vinyl and cut it out by hand. Another option is to use spray adhesive on a stencil you already have and apply it to the shirt. Let me know if you have any other questions! I hope you and your kids have fun making some shirts! I never thought about how kid friendly this craft is. Thanks for bringing that to my attention. I will have to make some more with my kids.
I really love this!! 🙂
Thanks Kim! Every time I look at it, I’m ready for Spring!
This looks like a fun and easy Easter craft to do with my kids.
Thanks, Sonya! I think I’m going to make another one with layered colors with my daughter if she’s up for it :).
Looks great. I love decorating my own shirts. I would love for you to share this tip on my Friday T.G.I.F. linky party 🙂
I will definitely link up, Wendy! Thanks so much for the invite and visit!
Love this idea Candace! I used to spend a lot of time creating things such as this and have totally gotten away from it. You inspire me to want to explore my creative side again. Hope you are well and I’m hoping the weather changes and stays in the warmer range soon for both of us.
Hi Mary! This blog has helped me so much to reignite my creative spark. It had been a while for me. It really does help on so many levels to spend time creating. I am so looking forward to the warmer weather coming our way too!
very cool….you are so crafty and I am losing my craftiness.
Thanks, Susie! I have been craft-less for a couple of weeks. My mom and I made a coke bottle that lights up this past weekend. I’m trying to get a post together with it, but seem to be having trouble getting back to work :)…